Setup Keycloak with TLS for development and testing

Alex Ellis
The Keycloak docs don’t make it easy to spin up an instance with TLS for testing OAuth and OIDC, but an inlets HTTPS tunnel makes it both quick and bearable.
Keycloak is an open-source identity and access management solution. It was recently adopted into the Cloud Native Computing Foundation (CNCF) showing its importance to the industry. It’s used by many companies to provide a single-sign-on (SSO) solution for their applications, especially when running on-premises or deploying a solution for an enterprise customer.
Keycloak can provide its own database of usernames and passwords for authentication with OAuth and OIDC, or it can link to another source such as LDAP, Active Directory, Google Workspace and even SAML.
When we were building the Single Sign-On support for OpenFaaS, we found it really useful to be able ot spin up a temporary Keycloak instance for testing.
But there’s a problem, the Keycloak docs don’t make it easy to do that with Kubernetes. There’s no helm chart, so you have a lot of different YAML files to edit, and then the default manifest that’s available sets the password up as “admin” which is not secure.
A tunnel to the rescue
Han on my team shared his recipe for running Keycloak in a container with Docker. It was so simple that I had my own instance running within a few seconds.
Generate a strong password for the Keycloak administrative dashboard:
openssl rand -base64 32 > ~/keycloak-password.txt
Next, write a bash script that you’ll use to start Keycloak whenever needed.
Customise the value under keycloak.example.com and replace that with a domain name that you already own, or that you purchase for a few dollars on Namecheap or Google Domains.
#!/bin/bash

KEYCLOAK_ADMIN_PASSWORD="$(cat ~/keycloak-password.txt)"
KEYCLOAK_HOSTNAME="keycloak.example.com"

docker run \
 -p 8888:8080 \
 -e KEYCLOAK_ADMIN=admin \
 -e KEYCLOAK_ADMIN_PASSWORD=$KEYCLOAK_ADMIN_PASSWORD \
 --name of-iam-keycloak \
 -t quay.io/keycloak/keycloak:21.1.1 start-dev --hostname $KEYCLOAK_HOSTNAME --proxy=edge
Now here’s where we get our TLS and public URL, within a few minutes.
Create an inlets tunnel server VM using inletsctl, pass in the domain from the previous step remembering to change the domain name to your own.
export DOMAIN="keycloak.example.com"

inletsctl create \
    --provider digitalocean \
    --region lon1 \
    --access-token-file $HOME/.config/doctl/access-token \
    --tunnel-name keycloak \
    --letsencrypt-domain $DOMAIN
I used an access token from DigitalOcean above, but you can also create tunnels on AWS, Azure, Google Cloud, Linode and others, just see the reference guide for how to create an access token for each.
See also: inletsctl reference documentation
Now, as quickly as you can, create a DNS A record for keycloak.example.com and the public IP address that inletsctl gave you.
Make sure that you also note down the token and URL for connecting to the tunnel.
Connect the tunnel with the following command:
export TOKEN=""
export DOMAIN="keycloak.example.com"
export URL="wss://147.33.11.101:8123/connect"

inlets-pro http client \
    --auto-tls \
    --token $TOKEN \
    --upstream "$DOMAIN=http://127.0.0.1:8888"
If you want to make the tunnel run with systemd, you can generate a systemd unit file by adding --generate systemd to the end of the command above.
See also: Automate a HTTP tunnel server
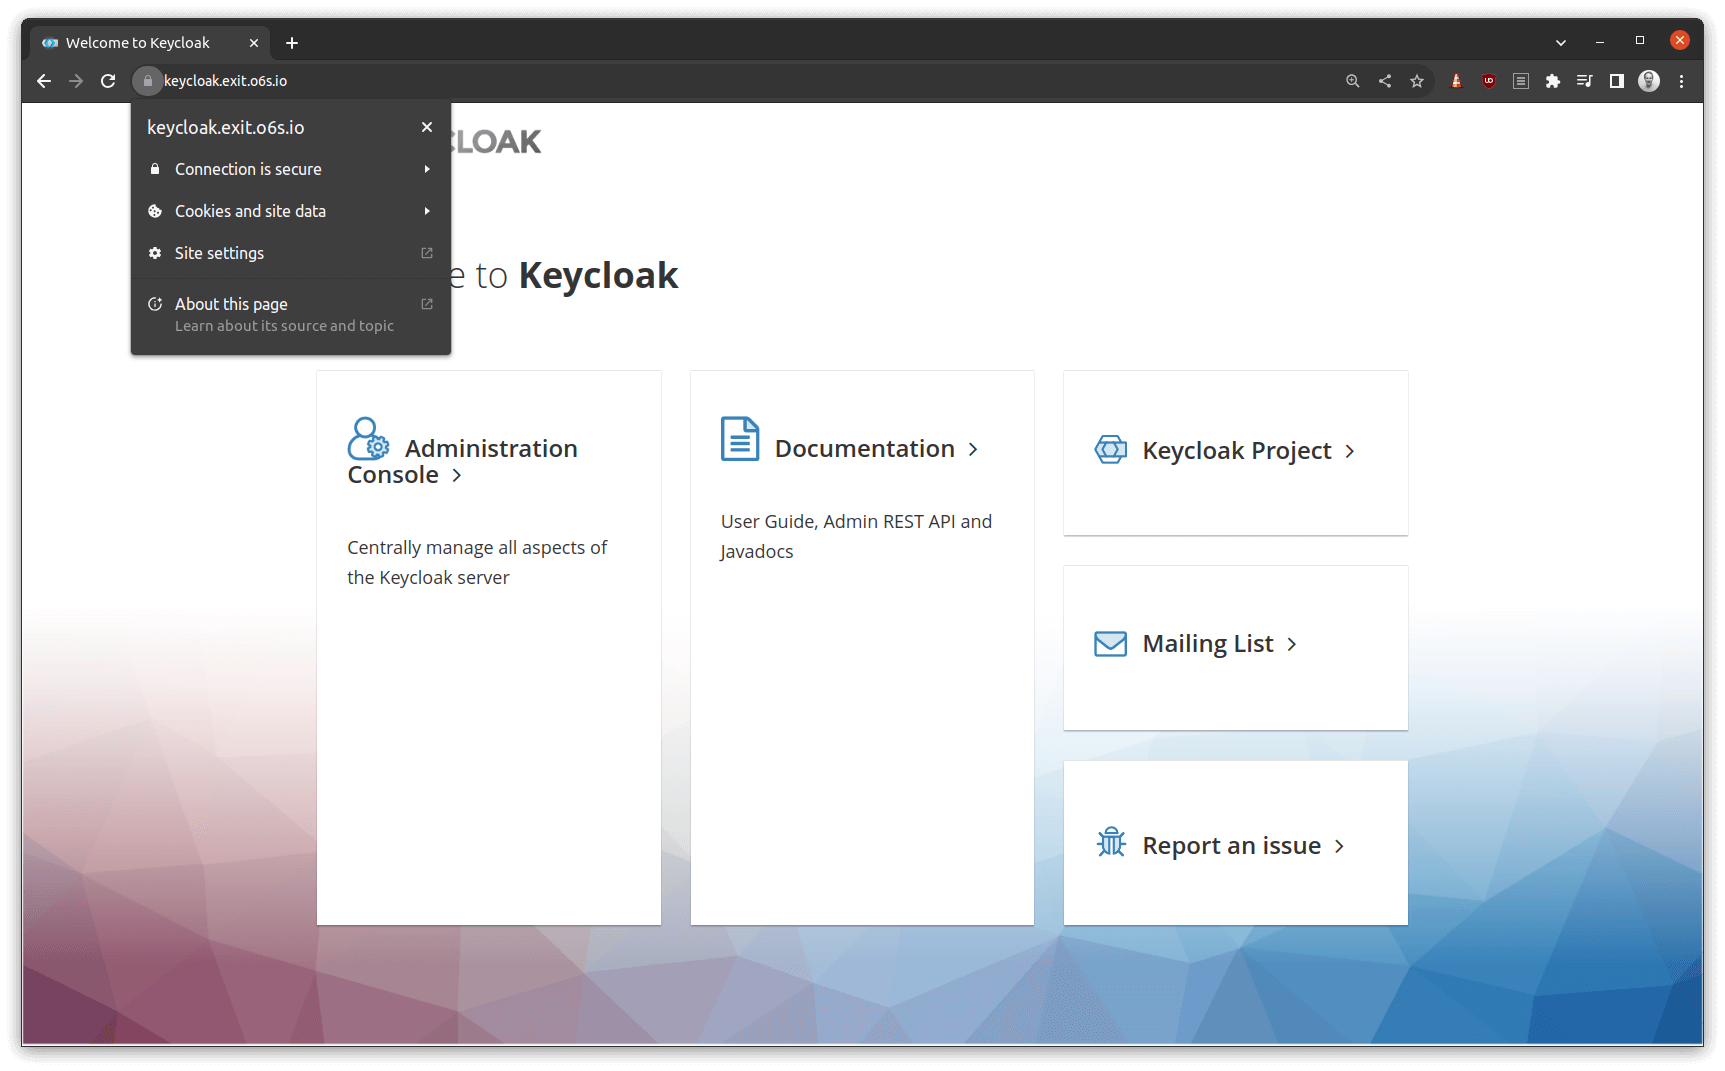
Here’s my Keycloak instance, which I used to test out a new Federated Gateway feature for OpenFaaS customers.

My Keycloak instance running in Docker, exposed with TLS and a custom domain
Wrapping up
In less than 20-30 minutes you will have a Keycloak instance running with TLS and a public URL. You can use this for testing OAuth and OIDC with your applications.
The inlets subscription comes with a free 7-day trial, or you can pay for a personal license and use it at home or at work for two tunnels.
Subscribe for updates and new content from OpenFaaS Ltd.
By providing your email, you agree to receive marketing emails.