Expose ArgoCD on the Internet with Inlets and Istio

Alex Ellis
In this tutorial, you will learn how to expose the ArgoCD dashboard on the Internet with Istio and the inlets-operator for Kubernetes.
ArgoCD is a popular tool for managing GitOps workflows and deploying applications to Kubernetes. It provides a web-based dashboard that allows you to view the state of your applications, compare them to the desired state, and sync them as needed. Another popular tool for GitOps workflows is FluxCD, which does not ship with a built-in UI, add-ons are available.
If you are running ArgoCD in a private VPC, in your homelab, or on-premises, then the inlets-operator can be used to quickly create a TCP tunnel to expose Istio’s Ingress Gateway to the Internet. This will allow you to access the ArgoCD dashboard from anywhere in the world.
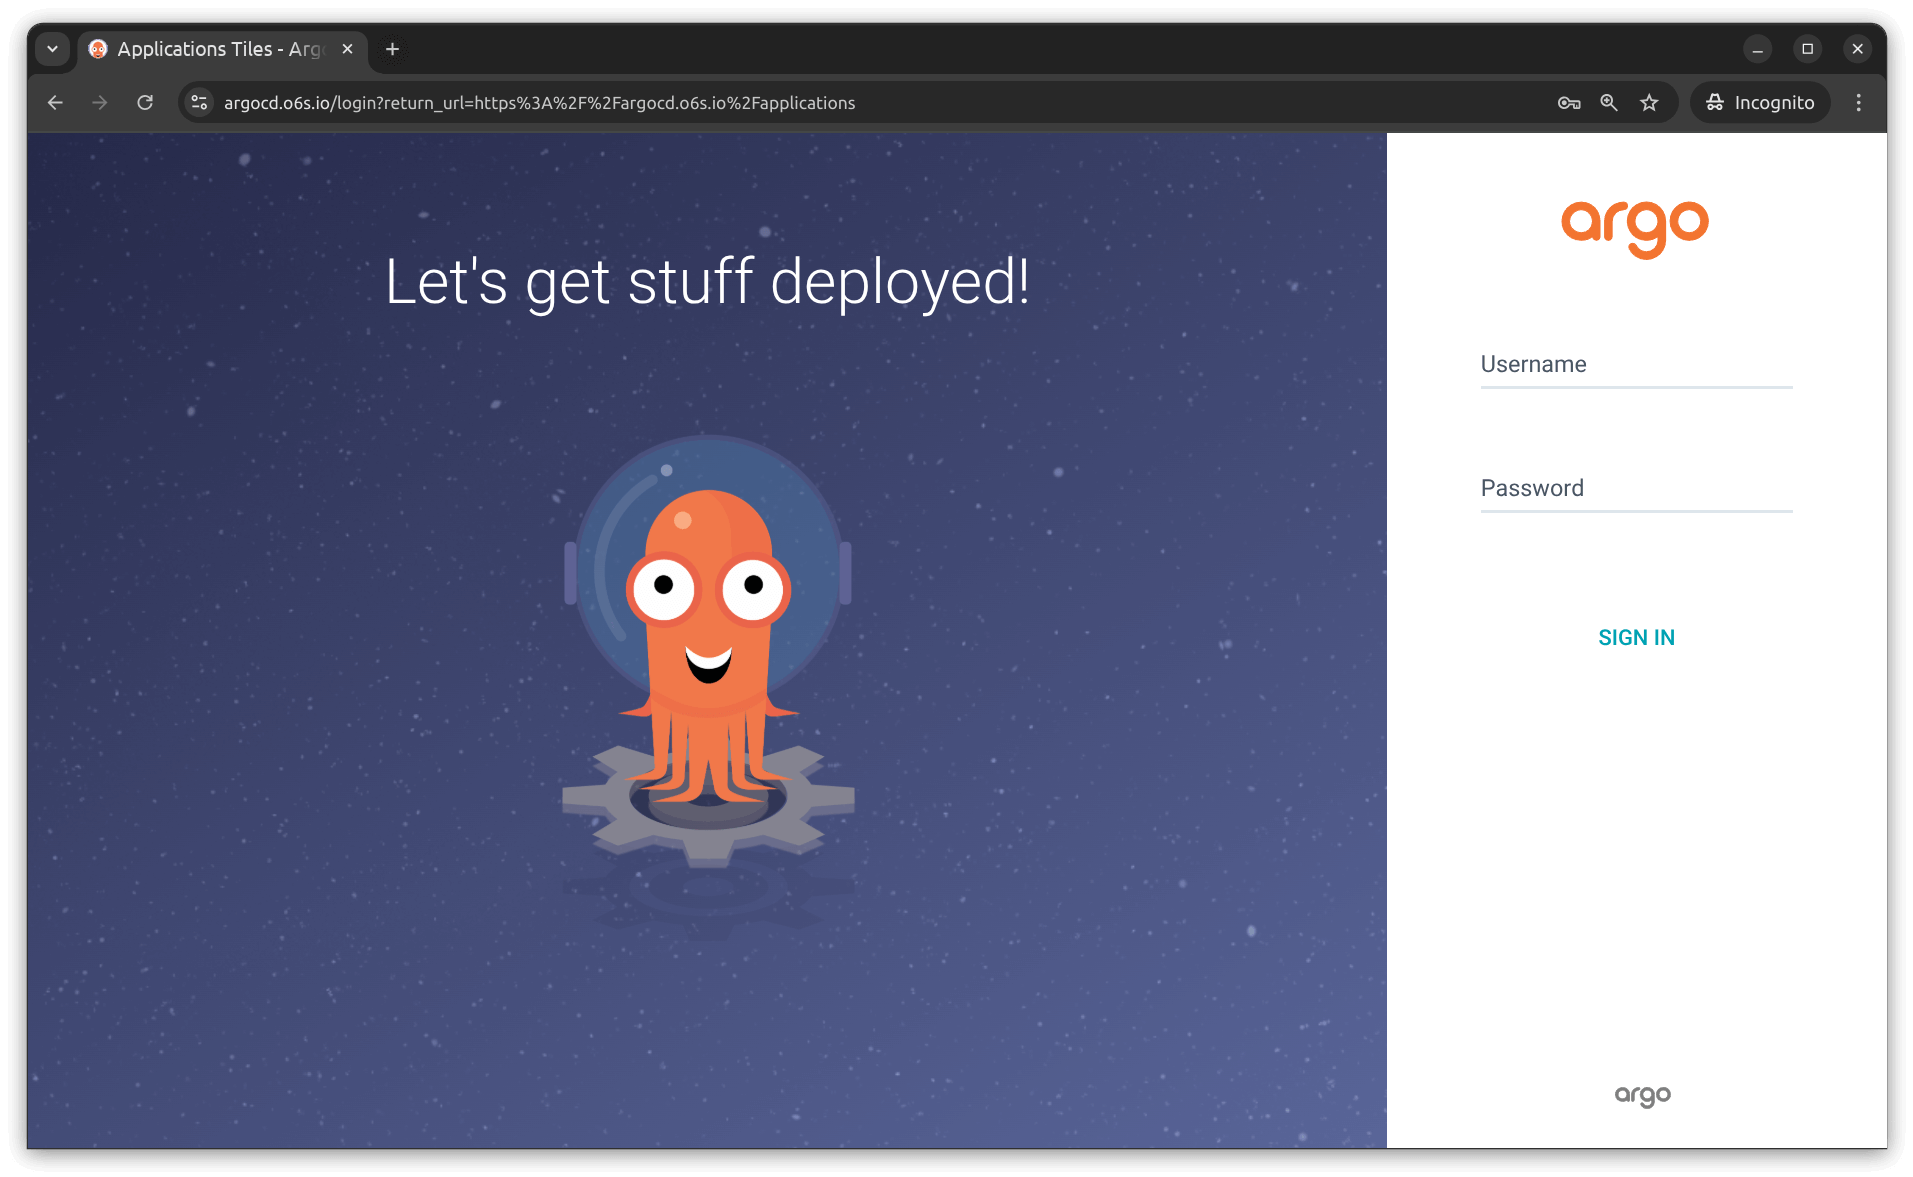
ArgoCD login page exposed via Istio and Inlets
A different but related workflow we have seen with inlets tunnels, is where a number of remote Kubernetes clusters are tunneled back to a central Kubernetes cluster. From there, each can be added to ArgoCD and applications can be managed from a central location. This is a great way to manage multiple clusters and applications from a single dashboard. We covered that previously in How To Manage Inlets Tunnels Servers With Argo CD and GitOps.
Prerequisites
You will need a Kubernetes cluster running in a private network without ingress or Load Balancers. KinD, K3s, or Minikube can be a convenient way to test these steps.
We will install a number of Helm charts and CLIs during the tutorial. For convenience, arkade will be used to install these tools, but you are free to install them in whatever way you prefer.
You will also need a domain name under your control where you can create an A record to point to the public IP address of the inlets tunnel server.
Personal and commercial licenses are available from the inlets website at a similar price to a cloud load balancer service. There are no restrictions on the number of domains that can be exposed over a single tunnel, and the tunnel is hosted in your own cloud account.
Install the inlets-operator
The inlets-operator looks for LoadBalancer services and in response creates a VM in your cloud account with a public IP address. It then creates a Deployment for the inlets client within the cluster, and updates the LoadBalancer’s IP address with the public IP of the inlets server.
From that point, you have a fully working TCP tunnel to your Kubernetes cluster, just like you’d get with a LoadBalancer service from a cloud provider.
To install the inlets-operator with DigitalOcean, create an API token with read/write access and save it to ~/do-access-token:
# Create a tunnel in the lon1 region

export DO_REGION=lon1
arkade install inlets-operator \
  --provider digitalocean \
  --region $DO_REGION \
  --access-token-file ~/do-access-token
You can find instructions for Helm and other providers like AWS EC2, GCE, Azure, Scaleway, and so forth in the inlets-operator documentation.
Along with the documentation, you can find the inlets-operator Helm chart on GitHub.
Install ArgoCD
If you haven’t already installed ArgoCD, you can do so with the following command:
arkade install argocd
Now edit the argocd-server deployment and turn off its built-in self-signed certificate. We will be obtaining a certificate from Let’s Encrypt instead.
kubectl edit deployment argocd-server -n argocd
Add the --insecure flag to the args section:
      containers:
      - args:
        - /usr/local/bin/argocd-server
+       - --insecure
Install Istio
Install Istio with the following command:
arkade install istio
Create a DNS record for the ArgoCD dashboard
Verify the public IP address of the inlets tunnel server:
$ kubectl get svc -n istio-system istio-ingressgateway
NAME                   TYPE           CLUSTER-IP   EXTERNAL-IP       PORT(S)                                      AGE
istio-ingressgateway   LoadBalancer   10.43.5.77   144.126.234.124   15021:32412/TCP,80:31062/TCP,443:32063/TCP   51m
Next, create a DNS A record from argocd.example.com to the public IP address of the inlets tunnel server.
Install cert-manager
Install cert-manager with the following command:
arkade install cert-manager
Create a Let’s Encrypt Issuer and certificate
The Certificate must be created in the same namespace as the Istio Ingress Gateway, i.e. istio-system.
Create a file called letsencrypt-issuer.yaml with the following content:
export EMAIL="you@example.com"

cat > issuer-prod.yaml <<EOF
apiVersion: cert-manager.io/v1
kind: Issuer
metadata:
  name: letsencrypt-prod
  namespace: istio-system
spec:
  acme:
    server: https://acme-v02.api.letsencrypt.org/directory
    email: $EMAIL
    privateKeySecretRef:
      name: letsencrypt-prod
    solvers:
    - selector: {}
      http01:
        ingress:
          class: istio
EOF
Now create a Certificate resource:
cat > certificate.yaml <<EOF
export DOMAIN="argocd.example.com"

apiVersion: cert-manager.io/v1
kind: Certificate
metadata:
  name: argocd-server-cert
  namespace: istio-system
spec:
  secretName: argocd-server-tls
  commonName: $DOMAIN
  dnsNames:
    - $DOMAIN
  issuerRef:
    name: letsencrypt-prod
    kind: Issuer
EOF
Apply the resources:
kubectl apply -f letsencrypt-issuer.yaml
kubectl apply -f certificate.yaml
Expose the ArgoCD dashboard
Create a file called argocd-gateway.yaml with the following content:
cat > gateway.yaml <<EOF
apiVersion: networking.istio.io/v1alpha3
kind: Gateway
metadata:
  name: argocd-gateway
  namespace: argocd
spec:
  selector:
    istio: ingressgateway
  servers:
    - port:
        number: 80
        name: http
        protocol: HTTP
      hosts:
        - "*"
      tls:
        httpsRedirect: true
    - port:
        number: 443
        name: https
        protocol: HTTPS
      hosts:
        - "*"
      tls:
        credentialName: argocd-server-tls
        maxProtocolVersion: TLSV1_3
        minProtocolVersion: TLSV1_2
        mode: SIMPLE
        cipherSuites:
          - ECDHE-ECDSA-AES128-GCM-SHA256
          - ECDHE-RSA-AES128-GCM-SHA256
          - ECDHE-ECDSA-AES128-SHA
          - AES128-GCM-SHA256
          - AES128-SHA
          - ECDHE-ECDSA-AES256-GCM-SHA384
          - ECDHE-RSA-AES256-GCM-SHA384
          - ECDHE-ECDSA-AES256-SHA
          - AES256-GCM-SHA384
          - AES256-SHA
Create a file called argocd-virtualservice.yaml with the following content:
apiVersion: networking.istio.io/v1alpha3
kind: VirtualService
metadata:
  name: argocd-virtualservice
  namespace: argocd
spec:
  hosts:
    - "*"
  gateways:
    - argocd-gateway
  http:
    - match:
        - uri:
            prefix: /
      route:
        - destination:
            host: argocd-server
            port:
              number: 80
Apply the resources:
kubectl apply -f gateway.yaml
kubectl apply -f virtualservice.yaml
Access the ArgoCD dashboard
At this point you should be able to access the ArgoCD dashboard at https://argocd.example.com.
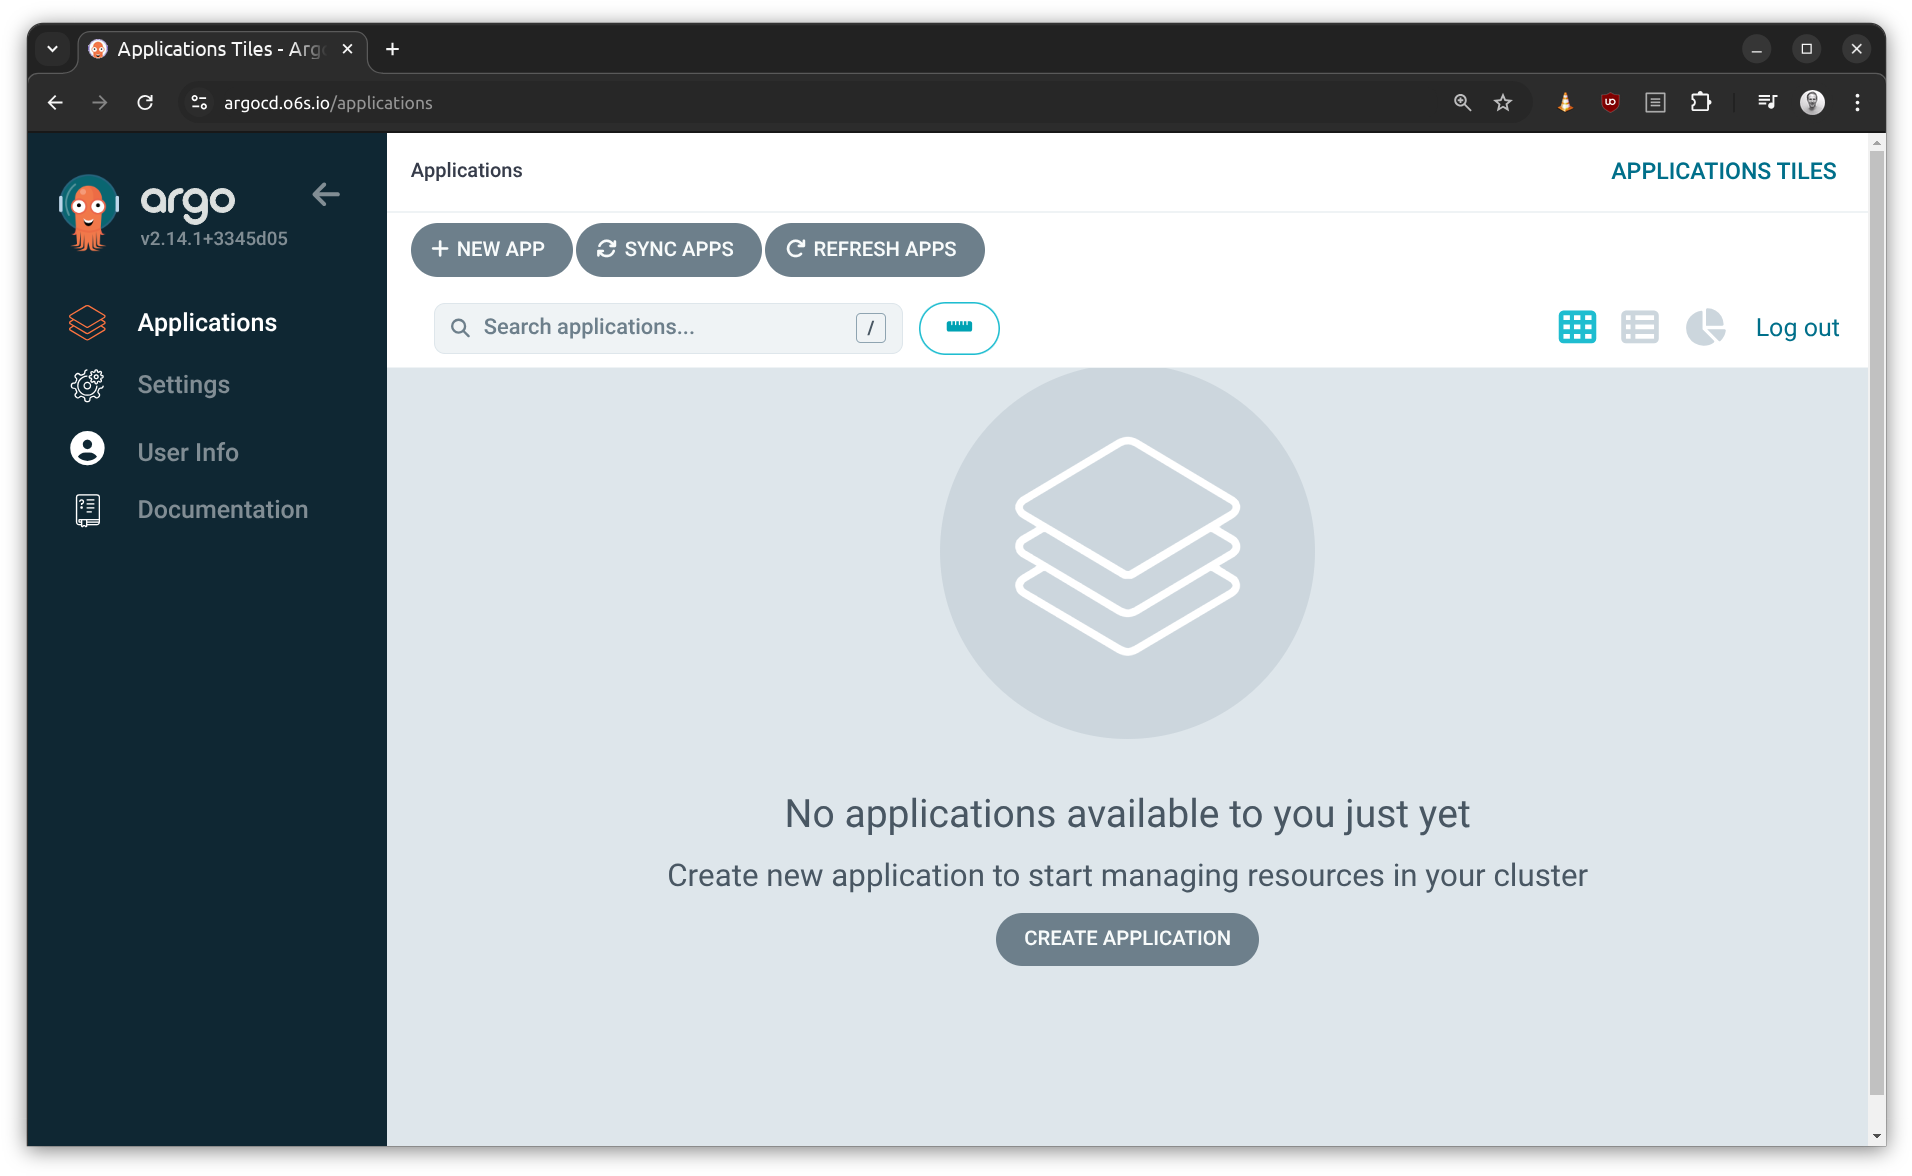
ArgoCD dashboard exposed via my own domain
You can use the command given via arkade info argocd to get the initial password for the admin user.
Wrapping up
Exposing an application behind inlets requires no additional effort or changes to the application or configuration itself. It is a drop-in replacement for a cloud LoadBalancer service, and can be used to expose any TCP service running in your Kubernetes cluster.
The majority of the steps we covered were due to the need to turn off the self-signed certificate within ArgoCD, and to obtain a certificate from Let’s Encrypt instead. This is a good practice for any application that is exposed to the Internet. The certificates are trusted by most PCs already, are free to obtain, and rotated regularly.
Both Istio and Ingress are common options for routing traffic and managing TLS termination. We covered Istio here to help customers who are already using Istio. We tend to prefer ingress-nginx ourselves for its simplicity and ease of use.
The ArgoCD documentation covers how to use ingress-nginx and other Ingress controllers: Docs: ArgoCD Ingress Configuration.
Arkade was used to install various Helm charts and CLIs purely for brevity, but you can use whatever tools you prefer to install them including Helm, brew or curl.
If you are interested in learning more about inlets, check out the inlets documentation or reach out to talk to us.
Subscribe for updates and new content from OpenFaaS Ltd.
By providing your email, you agree to receive marketing emails.