Expose your Docker Compose Applications with Inlets

Alex Ellis
As a Docker Compose user, you can now add inlets to your YAML file to expose it on the Internet.
In this tutorial, I’ll show you an example written by Johan Siebens for hosting a Ghost blog on your computer or Raspberry Pi using docker-compose and an inlets tunnel. Let’s Encrypt will be used to get a TLS certificate to serve traffic.
![]()
Compose is a tool for defining and running multi-container Docker applications. With Compose, you use a YAML file to configure your application’s services. Then, with a single command, you create and start all the services from your configuration. To learn more about all the features of Compose, see the list of features.
Compose works in all environments: production, staging, development, testing, as well as CI workflows.
From the Docker Docs
You’ll be able to adapt the example YAML file to other HTTP services like Grafana, OpenFaaS, and anything else that you can run in a container with Docker Compose.
Note: For Ghost specifically, you will need to upgrade to the latest release of inlets 0.9.0 or later on the tunnel server.
Running Ghost with Docker Compose
Ghost is a popular open-source blog engine written in Node.js which includes Content Management System (CMS) functionality, support for teams of editors, drafts, WYSWYG editing and paid memberships. The project has grown massively since its first pre-release version over 5 years ago.
You can run Ghost on your local computer using Docker, or on a Raspberry Pi. Docker Compose can be a handy way to combine all the various flags and configuration items into one place, but offers many of its own features that you can read up about in the Docker Docs.
version: '3.2'

volumes:
    ghost-data: {}

services:
  ghost:
    image: ghost:4.12.1-alpine
    restart: always
    environment:
      url: "https://${GHOST_DOMAIN}"
    volumes:
      - "ghost-data:/var/lib/ghost/content"
Then add ghost.env with:
GHOST_DOMAIN=ghost.example.com
When running on your laptop or local network, ghost.example.com will probably not work since it isn’t going to map to a public IP address. Instead, you would probably add an entry to your /etc/hosts file or local DNS service.
Then to test your blog, you would go ahead and run:
docker-compose --env-file ghost.env up
Any changes that you make would be saved into the ghost-data folder and persisted between restarts of the blog.
Exposing your blog on the Internet
Now to expose your blog on the Internet, you’ll need to create your own inlets tunnel server and configure it to fetch a Let’s Encrypt certificate for you.
Creating a self-hosted tunnel server
Here’s an example with Linode, but there are other providers supported:
export DOMAIN=ghost.example.com

inletsctl create \
  --provider linode \
  --region us-east \
  --access-token-file $HOME/linode-key.txt \
  --letsencrypt-domain $DOMAIN
At the end of the creation, inletsctl will print out all the connection information that you require.
inlets Pro HTTPS (0.8.8) server summary:
  IP: 66.228.36.207
  HTTPS Domains: [ghost.o6s.io]
  Auth-token: c663ac57e2ae697ebea3fbe02c051194a7ea9cc3

Command:

# Obtain a license at https://inlets.dev
# Store it at $HOME/.inlets/LICENSE or use --help for more options

# Where to route traffic from the inlets server
export UPSTREAM="http://127.0.0.1:8000"

inlets-pro http client --url "wss://66.228.36.207:8123" \
--token "c663ac57e2ae697ebea3fbe02c051194a7ea9cc3" \
--upstream $UPSTREAM

To delete:
  inletsctl delete --provider linode --id "29961421"
Your next task is to create a DNS record for the IP address of the tunnel server, you can use an A record or a CNAME. Do not miss this step, otherwise your tunnel server will not be able to start up and obtain a certificate for your blog.
Note down the URL or inlets, the IP address of the tunnel server and the auth token.
Adding inlets to your compose file
Update your compose file to the following:
version: '3.2'

volumes:
    ghost-data: {}

services:
  ghost:
    image: ghost:4.12.1-alpine
    restart: always
    environment:
      url: "https://${GHOST_DOMAIN}"
    volumes:
      - "ghost-data:/var/lib/ghost/content"

  inlets:
    image: ghcr.io/inlets/inlets-pro:0.9.5
    restart: always
    command: [
      "http",
      "client",
      "--url", "${INLETS_URL}",
      "--token", "${INLETS_TOKEN}",
      "--license", "${INLETS_LICENSE}",
      "--upstream", "${GHOST_DOMAIN}=http://ghost:2368"
    ]
Notice that there are a number of new environment variables referenced?
The --upstream variable is able to use the name ghost to look-up the ghost container. Compose creates a network bridge which enables service discovery by name for the containers in your stack.
You could even expose multiple services from within the same compose file with one inlets client. Here’s an example for if you had Grafana in your YAML file too.
"--upstream", "${GHOST_DOMAIN}=http://ghost:2368,${GRAFANA_DOMAIN}=http://grafana:3000"
Configuring your environment variables
Next update ghost.env with the values you received from inletsctl:
INLETS_URL=wss://66.228.36.207:8123
INLETS_TOKEN=c663ac57e2ae697ebea3fbe02c051194a7ea9cc3
GHOST_DOMAIN=ghost.o6s.io
INLETS_LICENSE=
Populate the INLETS_LICENSE with the contents from .inlets/LICENSE or your Gumroad subscription token.
Try out your new blog
Run the following to start the inlets and ghost containers:
docker-compose --env-file ghost.env up

ghost_1   | [2021-09-09 15:04:09] INFO Relation: Role to Permission
ghost_1   | [2021-09-09 15:04:09] INFO Relation: Post to Tag
ghost_1   | [2021-09-09 15:04:09] INFO Relation: User to Role
ghost_1   | [2021-09-09 15:04:09] INFO Database is in a ready state.
ghost_1   | [2021-09-09 15:04:09] INFO Ghost database ready in 3.621s
ghost_1   | [2021-09-09 15:04:12] INFO Ghost booted in 6.359s
You’ll now be able to access your blog:
https://ghost.example.com


https://ghost.o6s.io
To create your admin account, add /ghost to the end of the URL.
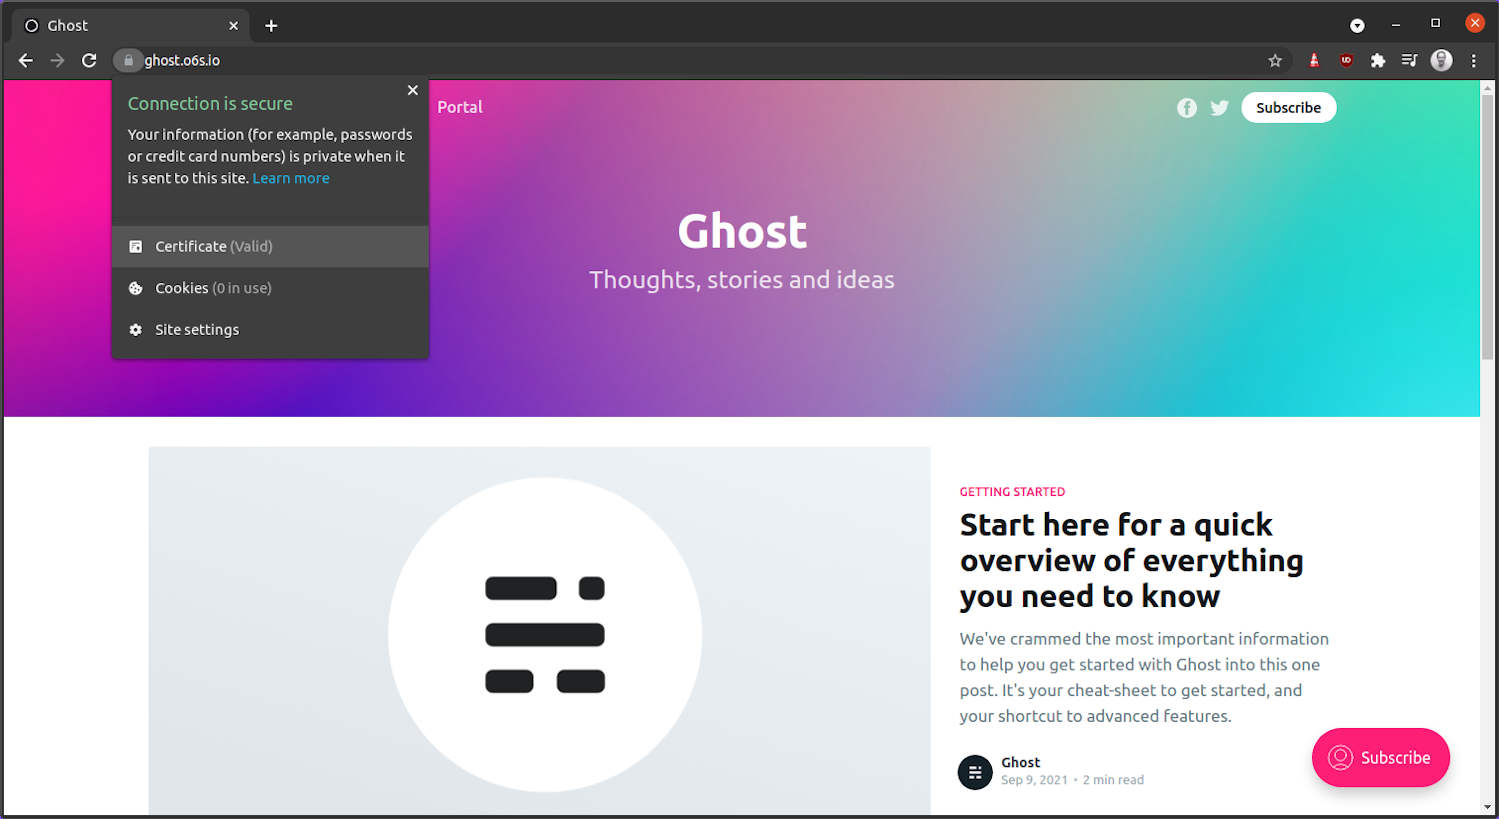
Here’s my sample blog:
The TLS certificate will be managed and automatically renewed by inlets.
What else can you expose from Docker Compose?
You can expose any website you like in this way. If you already use docker-compose, try adding inlets to your YAML file for a public IP address, custom sub-domain and a free TLS certificate.
Here are a few suggestions:
- A Grafana dashboard
- A website that you’re developing or hosting with Node, or Python, or Go
- A blog that you run locally using another tool like Jekyll like the OpenFaaS blog
- A documentation site that you run with mkdocs, perhaps the OpenFaaS docs? The inlets documentation site uses docsify
Many container images are made available for free on the Docker Hub and if you can run it within a docker-compose file, and it accepts HTTP traffic or has a web UI, you can probably use inlets to gain access to it.
If you want to run a tunnel to expose something on your local network which is not part of a Docker Compose file, that’s possible too through a simple inlets client process: Serve traffic through a private self-hosted tunnel
Next steps
- Find out more about the inlets subscription and how it compares to other tools: Introducing the inlets monthly subscription
- Learn how to expose services within your local Kubernetes cluster: Fixing Ingress for short-lived local Kubernetes clusters
Subscribe for updates and new content from OpenFaaS Ltd.
By providing your email, you agree to receive marketing emails.